Files Tab |
Files and Folders
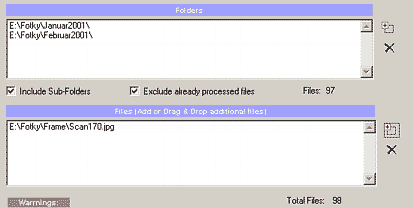
First thing you have to do is to load some source files. This can be done very easy. You can just Drag & Drop files or folders from Explorer right to DCE window.
Of course you can also use ![]() Add buttons to add Folders or Files.
Add buttons to add Folders or Files.

![]() You can add whole Folders and Sub-Folders or just load separate Files (or you can do both). This is just to give you enough freedom with selecting source files.
You can add whole Folders and Sub-Folders or just load separate Files (or you can do both). This is just to give you enough freedom with selecting source files.
DCE is specialized for images from digital cameras with EXIF data. So the most favorable source image is of course JPG. You can also input other formats such *.png, *.bmp or PhotoShop *.psd
DCE will not let you use GIF format - this is because GIF format is NOT for digital photography. GIF can have only 256 colors while JPG can have millions of colors. It makes no sense to process, nor use GIF format for digital photography.
Exclude Already processed files
DCE will by default exclude any files which were already processed. It is obvious why - you shouldn't process already enhanced images - always work on original source images. This rule is build deep inside DCE - it will not allow you to save the result back to the original file and all result files will have _dce added to its name. (For example Image200_DCE.jpg) This will always keep your source files intact.
Warnings
If a file or folder can't be used as a source you will see the message here. This will happen mostly when you try to (by purpose or by accident) include already processed files or folders. If a Folder has dceoutput.dir file inside then DCE will automatically exclude it and it won't even search there. DCE will insert this file to an output folder during processing.
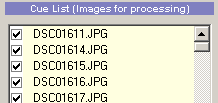
All Files will be sent to the Cue List

What is in the Cue List and has a check mark will be processed. The Batch processor will remove check mark from a file after it is successfully processed.