

To change the 3D Simplify settings, navigate to Tools- General Settings


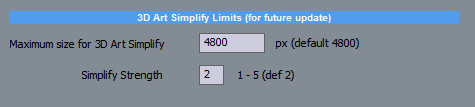
Change the settings:
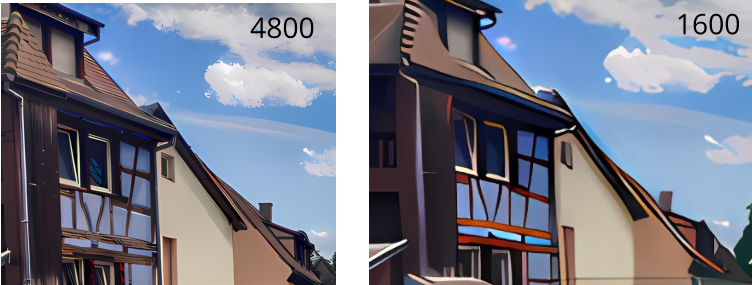
Maximum Size for 3D Art Simplify - This sets the maximum size of the output image. Lowering this number dramatically changes the overall simplification
feel (try 1600 for example). If you need higher resolution while keeping the strong simplification, process the image in 3D Art Simplify first, then load the
saved result back and use Art & Vector Graphics preset.
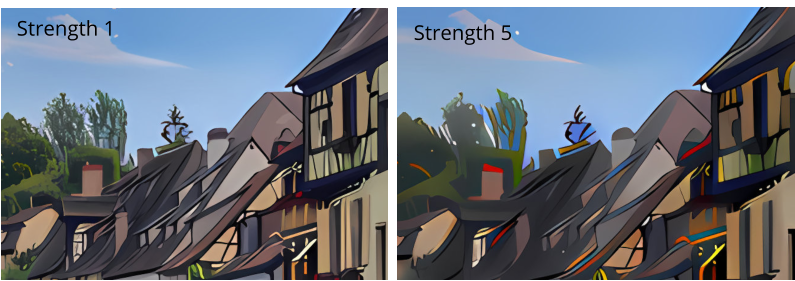
Simplify Strength
The higher the number the less details there will be, It is recommended to use 2.
Simplify image
3D Art Simplify can be an interesting way to create look of vector-like graphics. This can be then used alone or as a source image for Dynamic Auto Painter
for example.
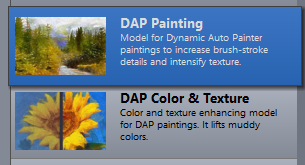
Prepare DAP painting for professional print
The best result (with the most paint-like effect) for print can be
achieved by setting the Canvas Output Size in DAP low (2400 or 3200)
then apply DAP painting or DAP Color & Texture preset on the result
image. This will dramatically increase the fidelity with many small
details while keeping the overall artistic feel. Feel free to try other
presets as well!

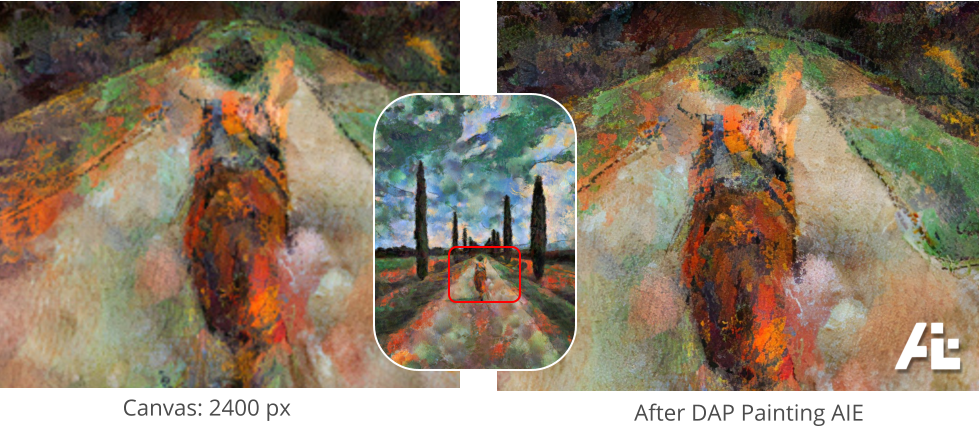
In Dynamic Auto Painter
then process in AIE


Content Reframe
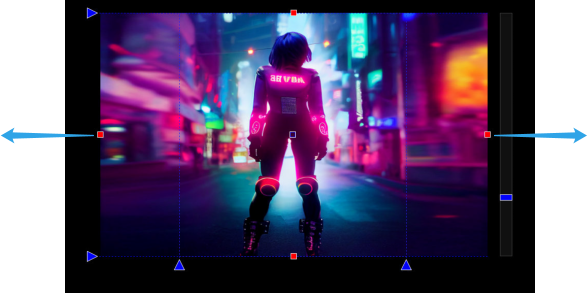
Content Reframe is a new tool to change aspect ratio of image before enlarging. It can be also used to reframe or even move subject around.

In this example, we have a square image but would prefer a rectangular image.
The first step is to resize the image to the desired ratio. We will use the red square handles on both sides (left and right)
As you can see, it stretched the image, but not entirely as you would
expect. The middle got wider, but less than the edges.
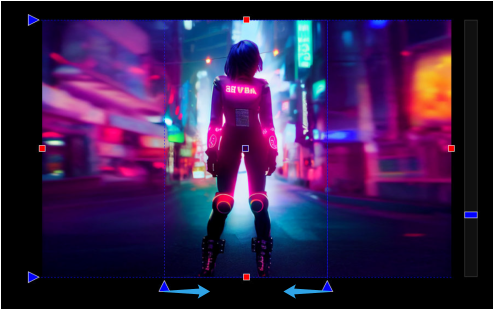
Now look at the triangles, they are used to fine tune the focal point.
Move the two bottom triangles closer to the middle.
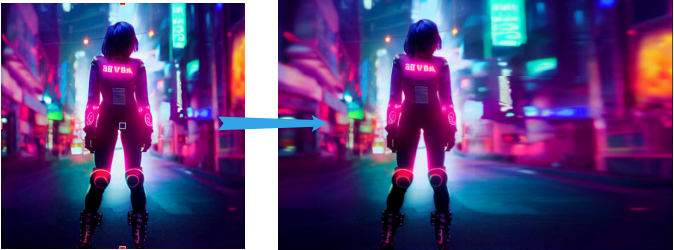
The figure will get back to it’s original shape, while the image has still
the new aspect ratio.
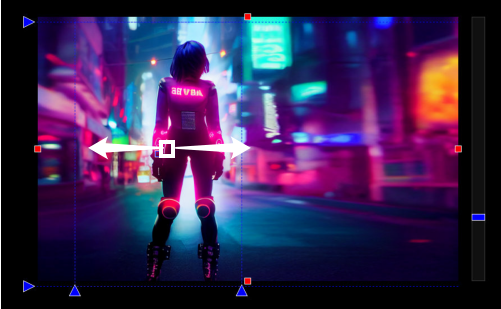
There is a white square in the middle. Moving it around will move the
entire focus point.
Depending on the image, you can move the subject closer to the
edges of the picture.
When you like it, press Apply.

Now you can enlarge the image with any of the models.
Watch video on youtube, explaining this feature

About MediaChance
Products
Links