|
|
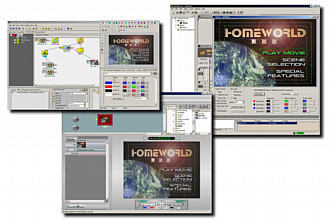
Screenshots - A Simple Subpicture menu
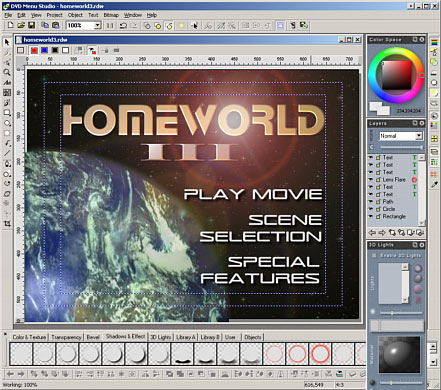 |
First we designed the main screen.
Forget about messing with DVD specs, all you need to do is to pick 4:3 or 16:9 ratio and design!
All what you see was done directly in DVD Menu Studio by using vector objects and applying textures and other formatting.
Even the Lens flare is always fully editable.
This whole design took less than 10 minutes to make.
|
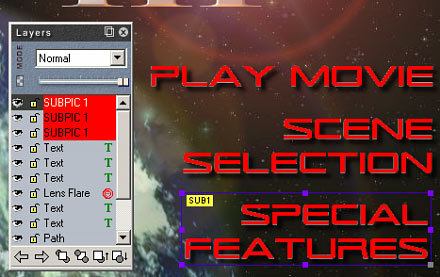 |
The next step is to add a Sub-picture
Simply select one of the 4 standard DVD subpicture by clicking on the Industry-standard color coded Red, Blue, Black or White button and draw anything you need - again all will remain fully editable. Create anything from simple underline, bulets to highlighted text.
To make it simpler we just selected the text and used Copy to Subpicture 1, which will duplicate the text as subpicture.

But of course you can draw more and then (if you or your application require) you can simply group any parts of subpicture into a logical Group.
|
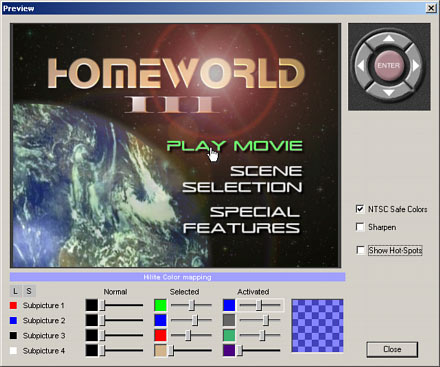 |
That's it, we can now test the menu right away in build-in Preview.
Here you can try different Color Mapping for the Sub-Pictures. We used light green with 50% opacity for selected and blue for activated state.
The color mapping is often exported directly to the application - for example to Impression DVD-Pro, Scenaris or even DVDMaestro (in form of palette) which saves you a lot of time.
|
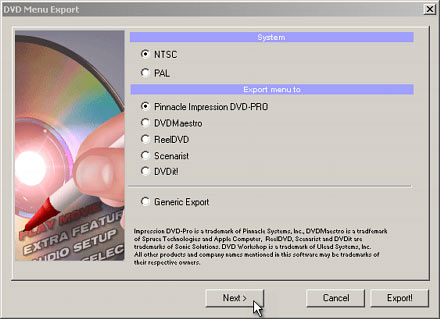 |
Now you can export it to your application with this easy to use 3 step wizard.
Step 1 - Select the DVD authoring application and click Next for more specific options.
Step 2 - Application specific option for example the type of menu (Hilite, True Color), the file format
Step 3 - Select NTSC Safe colors, Sharpening and choose the file name.
|
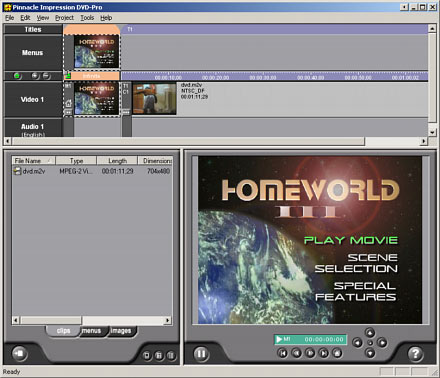 |
Here is what you get!
Simply load the generated PSD (or other) file into your specified DVD Authoring application and you get exactly what you designed. And in the correct aspect ratio!
You can now export the same menu to other applications:
You can see your familliar screens from ReelDVD, Scenarist or DVDMaestro.
|
|
The export does as much as it can for the selected application. For example buttons, hotspots and auto-routing in ReelDVD, the whole Script with hotspots and auto-routing for Scenarist, Palette, Buttons, Hotspots and auto-routing for Impression DVD etc.
|
If you ever designed menu for the above applications (such as sub-picture menu for Impression DVD-Pro) you know how much work it takes in a standard drawing application such as Adobe PhotoShop. The DVD Menu Studio lets you focus on the design rather than on technical aspects.
The time you spare on just one menu will save you probably more money than the whole cost of DVD Menu Studio!
This is just the beginning.
Some DVD applications such as Impression DVD-Pro supports also True-Color menus (There are no sub-picture, but the menu consist of several slides which are switched) and DVD Menu Studio will help you to create this as well.
Instead of adding Sub-Picture simply use Button feature and add Multiple Frame to the interactive object. Export and the whole thing is done!
Adobe Photoshop is a trademark ©Adobe Systems Incorporated
Impression DVD-PRO is a trademark of Pinnacle Systems, Inc,
DVDMaestro is a trademark of Spruce technologies and Apple Computer
ReelDVD, Scenarist and DVDit are trademarks of Sonic Solutions.
All other products and names mentioned here may be trademarks of their respective owners and we fully honor that.
|
|